Installing MySQL Server with Workbench
Contents
- Obtaining MySQL Server + Workbench
- Installing MySQL Server + Workbench
- Configuring your MySQL server
- Configuring your MySQL Workbench
- Install MySQL Connector/ODBC driver
Obtaining MySQL Server + Workbench
- Go to the download section of the MySQL website and select the downloads option.
- Select the latest version of MySQL Installer for Windows.
- Download the
Windows (x86, 32-bit), MSI Installer(mysql-installer-community-xxx.msi) installer. It's recommended you download the full size installer and not the web installer.
Installing MySQL Server + Workbench
Run the installer and follow the instructions below:
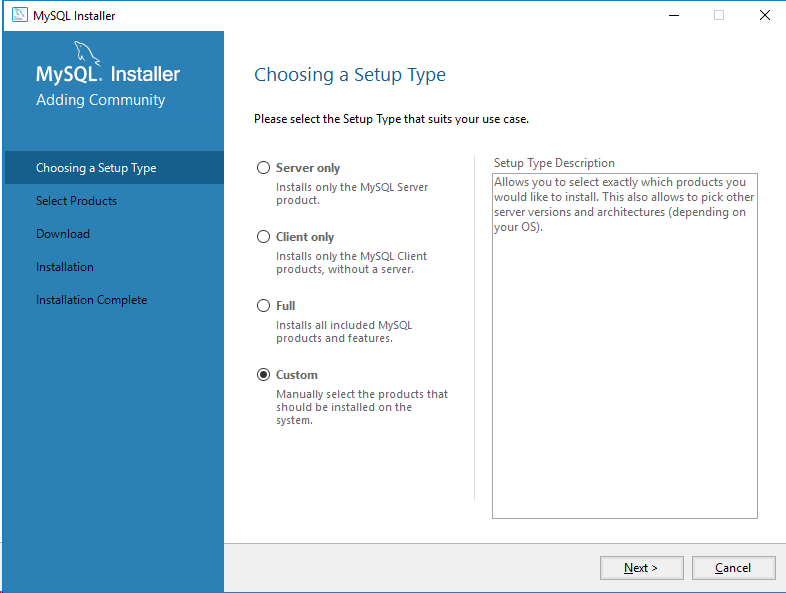
- Select the custom setup type.
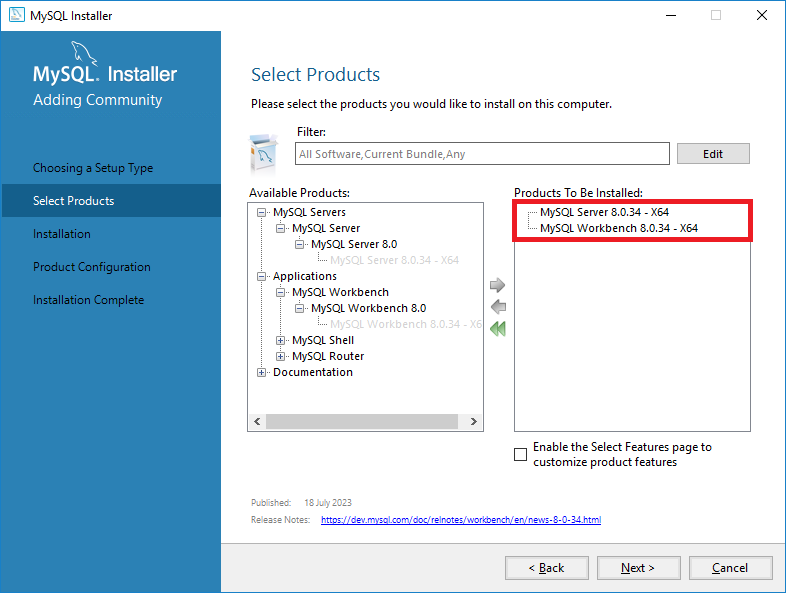
- For products, expand down the directory tree till you have the latest version my MySQL and the latest version of Workbench selected. Press the green right arrow to mark them for installation, as presented below:
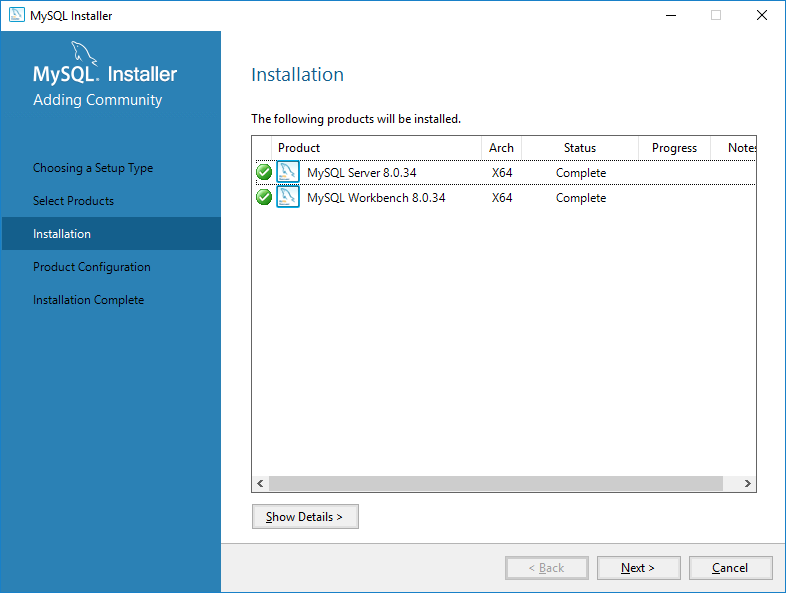
- Execute the installation and wait for the process to finish. Press next when complete.
- Press the next button to be bought to the configuration for your MySQL server.
Configuring your MySQL server
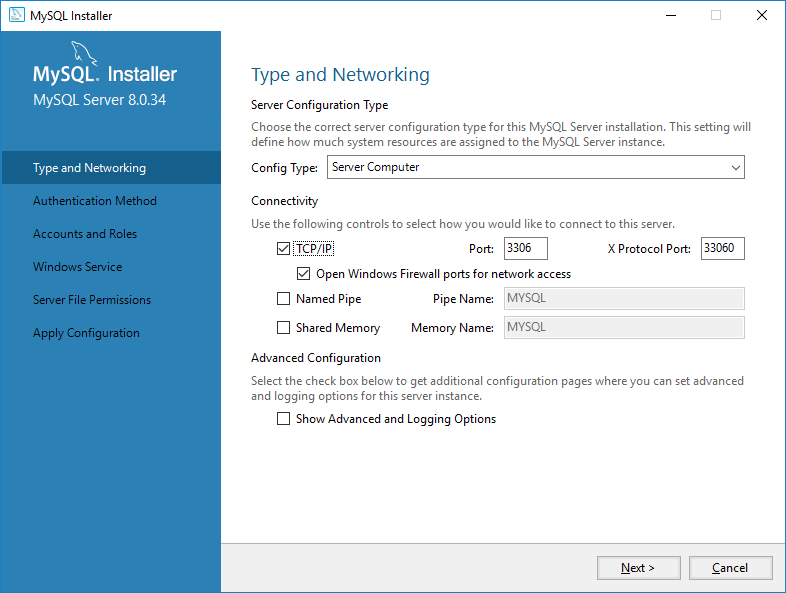
Type and Networking:
- Select Server Computer in the Config Type: dropdown box.
- Enable TCP/IP.
- Enter 3306 in the port field.
- Enter 33060 in the X Protocol Port field.
- Enable Open Window Firewall port for net work access.
- Leave Named Pipe as disabled. This will set the Pipe name to MYSQL.
- Leave Share Memory as disabled. This will set the Shared Memory as MYSQL.
- When your settings match the below screenshot, press next to continue.
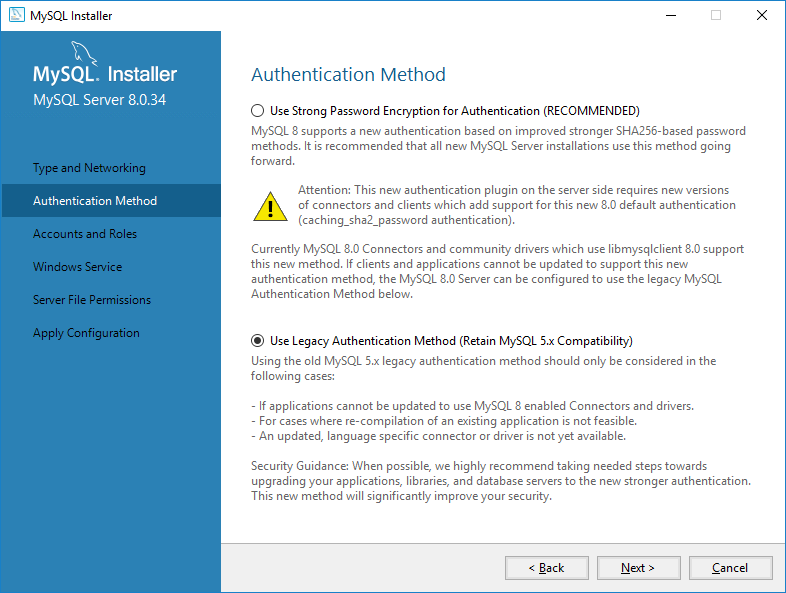
Authentication Method:
- Select the
Use Legacy Aithentication Method (Retain MySQL 5.X Compatability)option. - When your settings match the below screenshot, press next to continue.
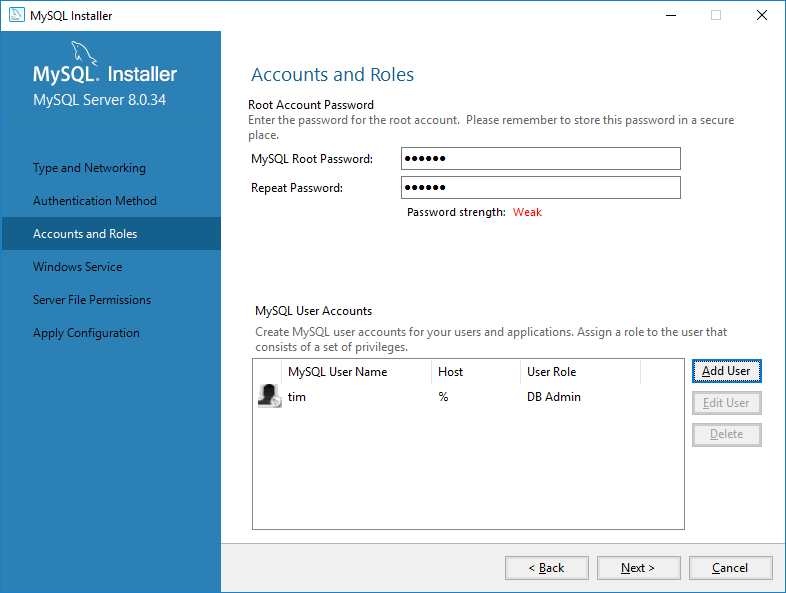
Accounts and Roles:
- Enter tntnet into the MySQL Root Password field. Repeat this in the Repeat Password field below.
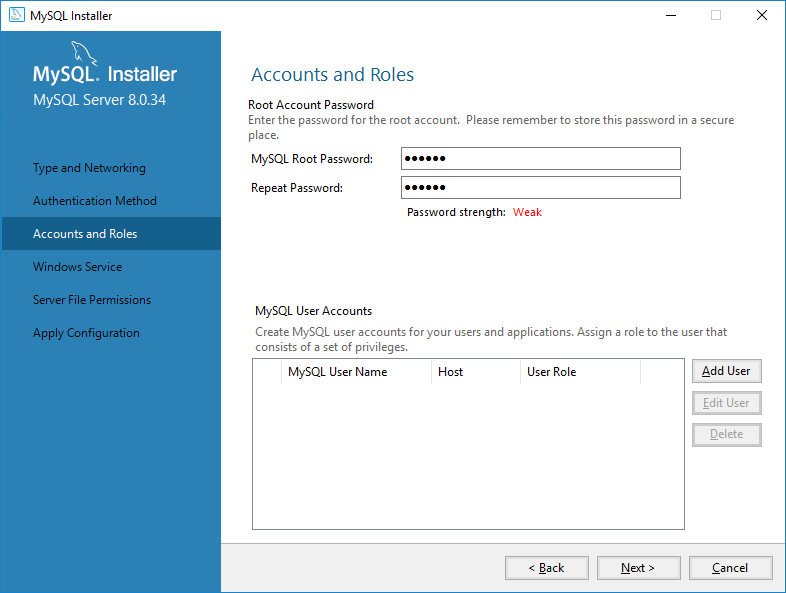
- Press the
Add Userbutton. - Create a user with the following details. The username should be tim. The password should be tntnet with MySQL authentication. They should have the DB Admin role.
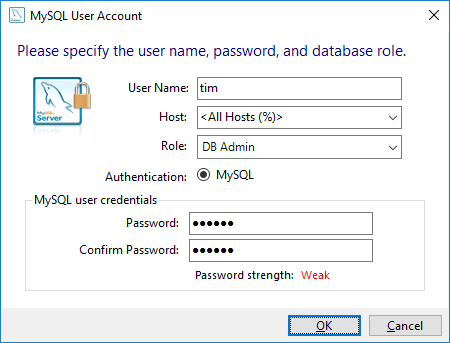
- When your settings match the below screenshot, press next to continue.
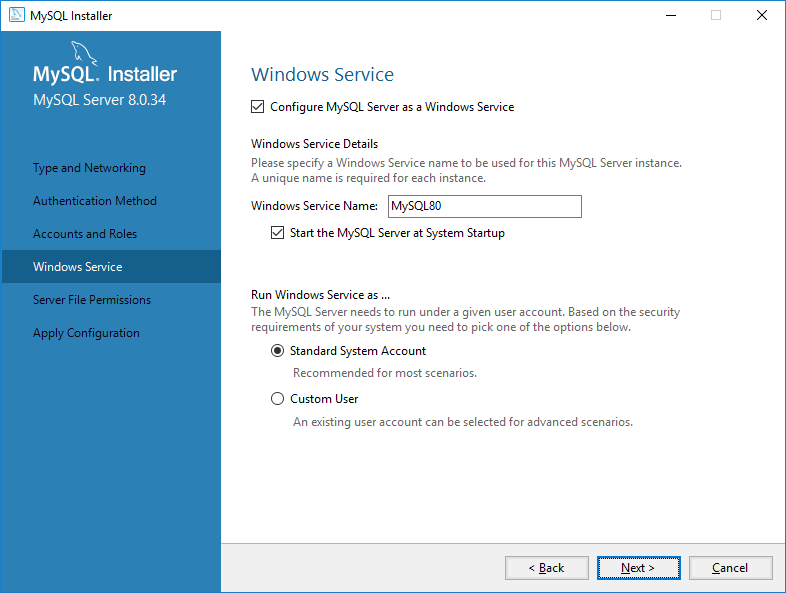
Windows Service:
- Enable Configure MySQL to run as a Windows Service.
- Name the MySQL service MySQL80.
- Enable **Start the MySQL Server at System startup.
- Select the service to run as Standard System Account.
- When your settings match the below screenshot, press next to continue.
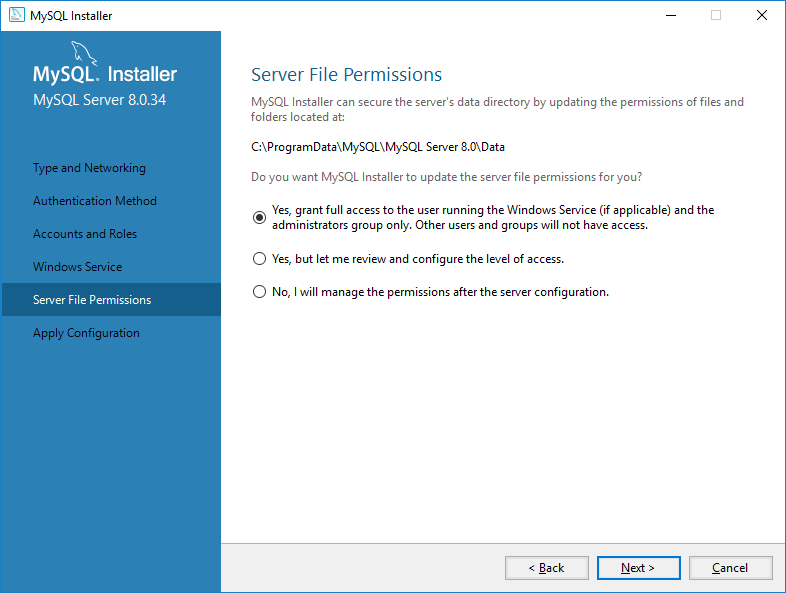
Server File Permissions:
- Select the Yes, grant full access to the user running the Widows Service and the administrators group only. Other users and groups will not have access. option.
- When your settings match the below screenshot, press next to continue.
Apply Configuration:
- Press the Execute button to apply the settings we have configured. When complete you should see something similar to the below screenshot:
- Press the next button to finish the installation. You will be asked to launch MySQL Workbench, enable this option and press finish.
Configuring your MySQL Workbench
- Once loaded into Workbench, log in with the root credentials listed previously.
- Select the Schemas tab, then right click in the white space below >sys and select create schema.
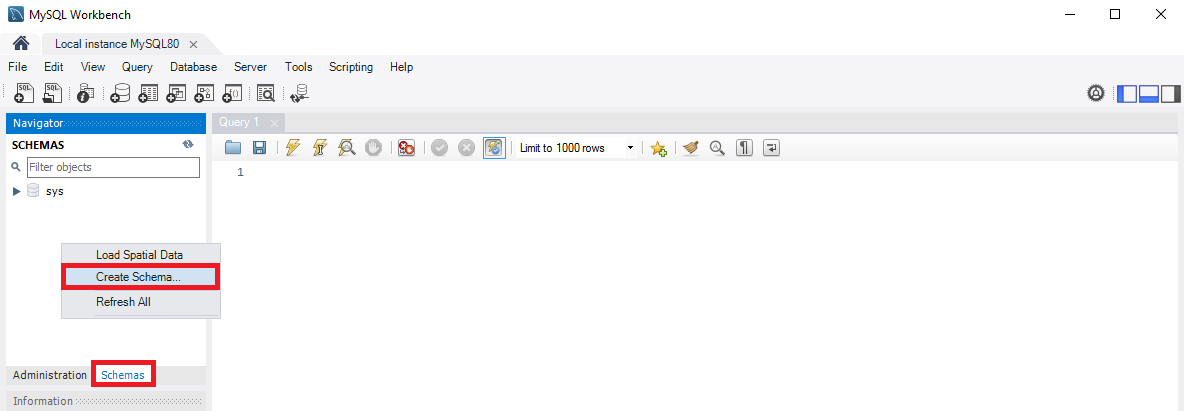
- Name the schema timenterprise and press apply.img/workbench_create_table_2.png

- An Apply SQL script to database window will be displayed. Press the apply button and wait for it to finish.
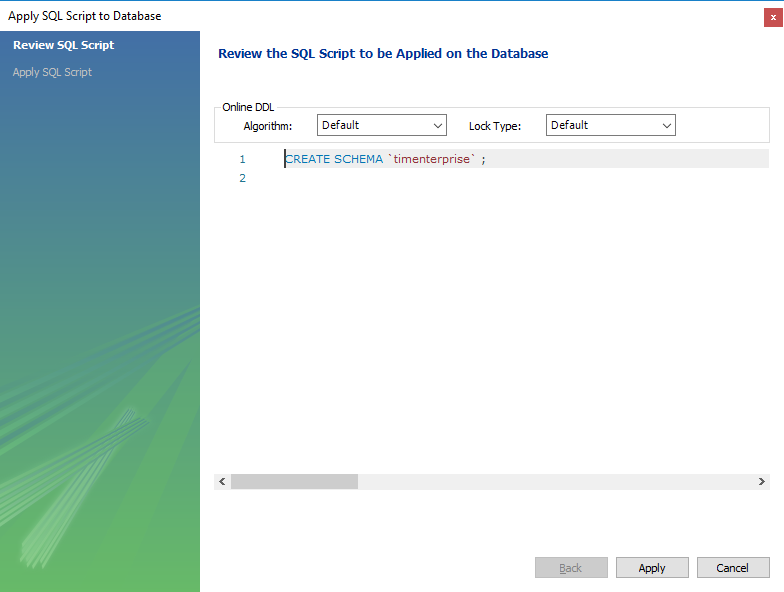
- Press the finish button to execute the query.
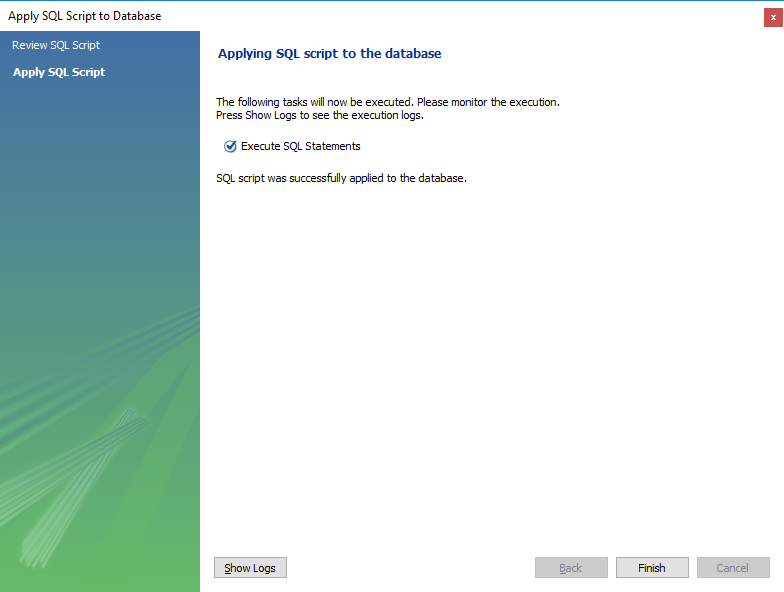
- Now you should be able to see the new schema created in the schema list.
- Select the Administration tab, then select Status and System Variables.
- Select the System Variables tab, then enter sql_mode into the search box.
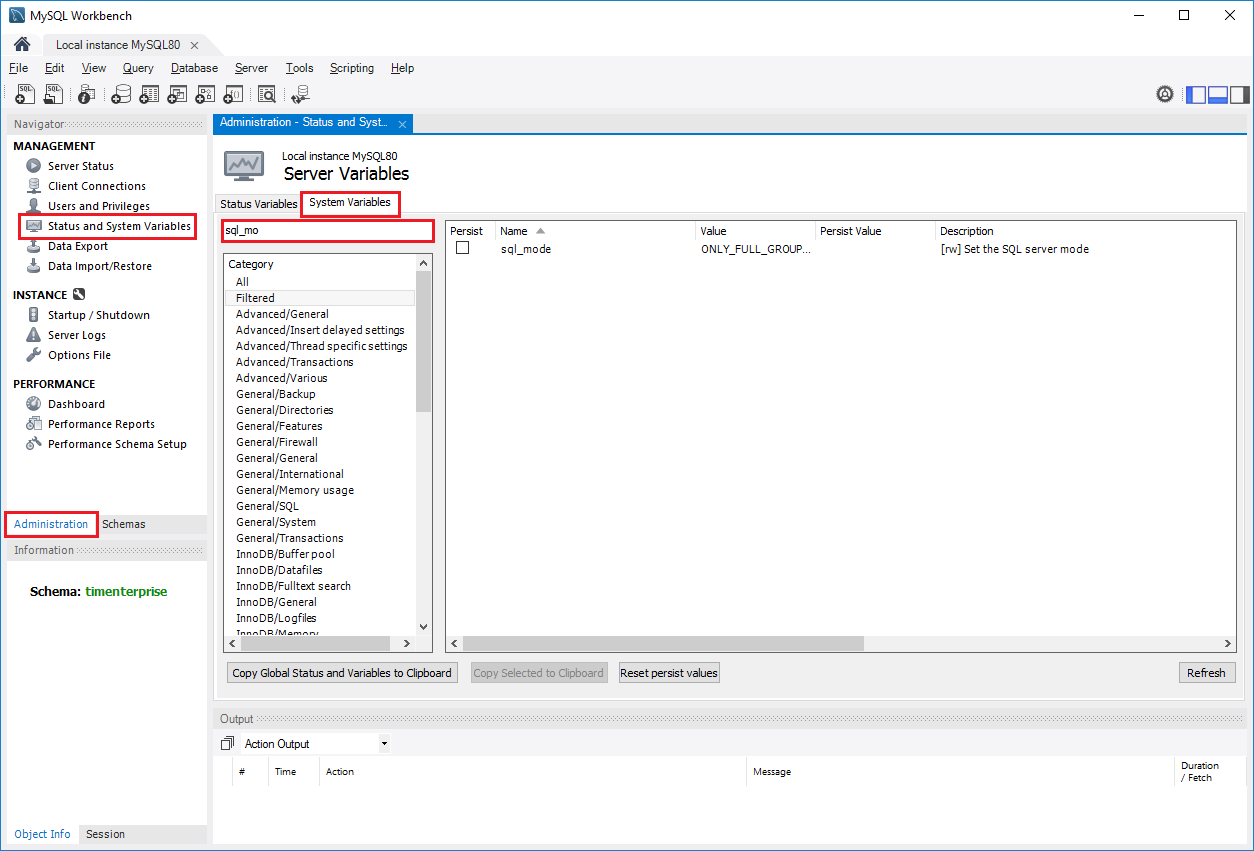
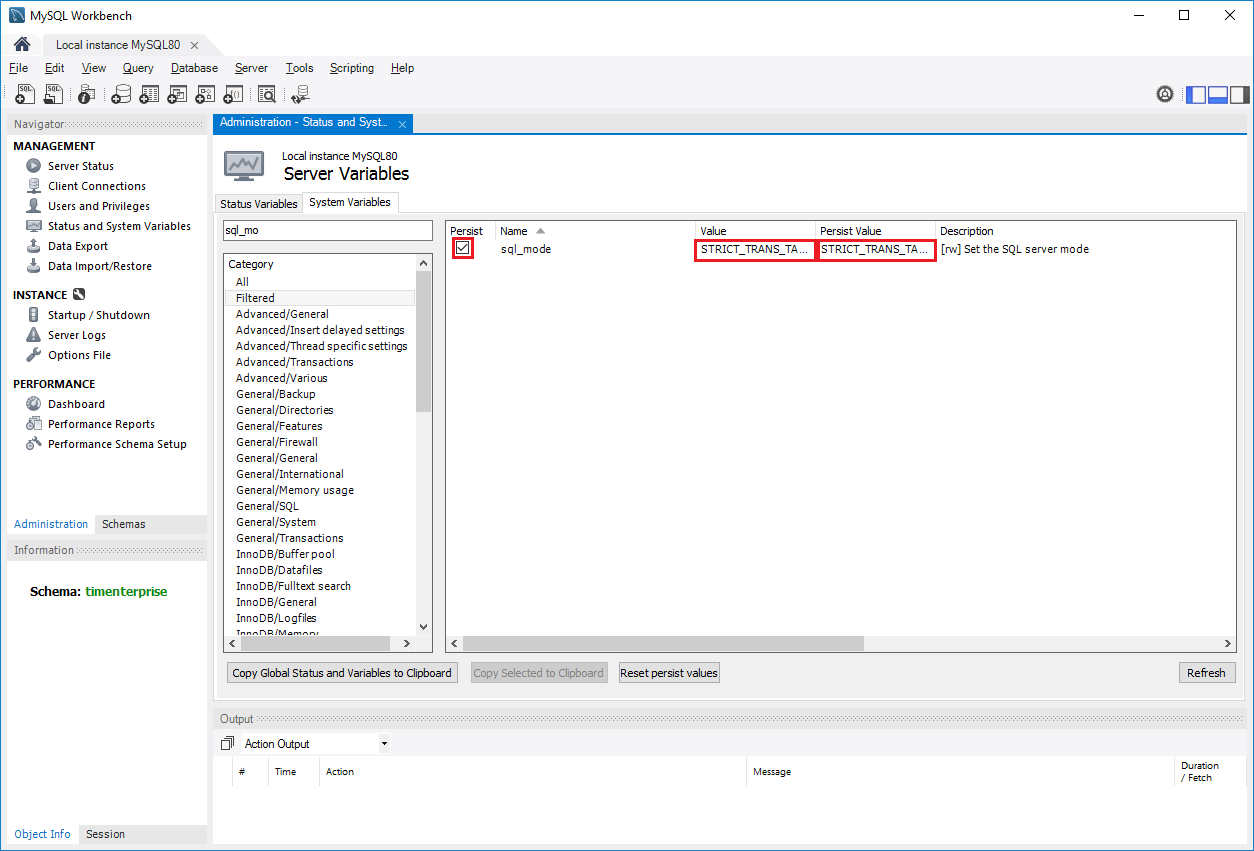
- Enable the Persist option.
- Click in the text fields for both the Value and Persist Value and enter the following:
STRICT_TRANS_TABLES,NO_ZERO_IN_DATE,NO_ZERO_DATE,ERROR_FOR_DIVISION_BY_ZERO,NO_ENGINE_SUBSTITUTION. The default values for both fields are:ONLY_FULL_GROUP_BY,STRICT_TRANS_TABLES,NO_ZERO_IN_DATE,NO_ZERO_DATE,ERROR_FOR_DIVISION_BY_ZERO,NO_ENGINE_SUBSTITUTION - Your options should now be updated and look like the following screenshot:
Install MySQL Connector/ODBC driver
- Run the installation package.
- Press the next button.
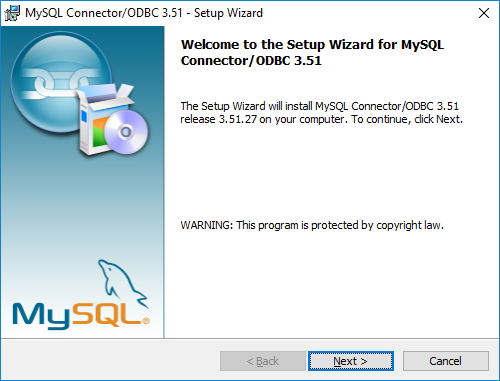
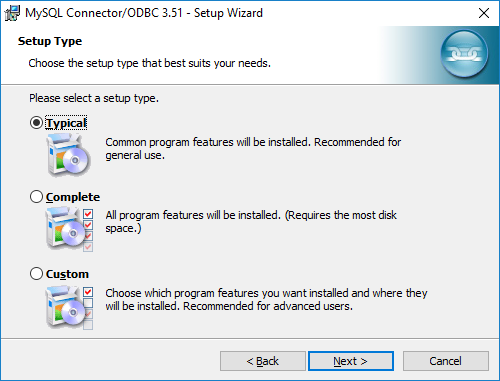
- Choose the Typical installation.
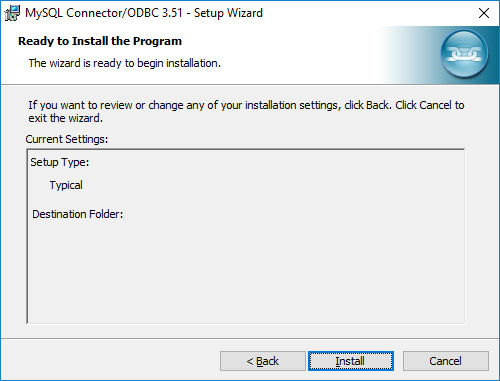
- Press the Install button to carry out the installation.
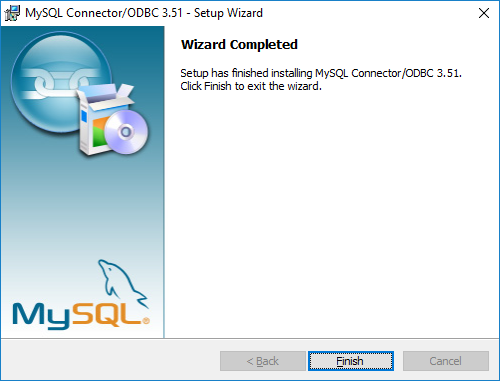
- Press the Finish button to finish the installation.
